Contents
- Getting Started
- External database for pgAdmin user settings
- Connecting To A Server
- Managing Cluster Objects
- Managing Database Objects
- Cast Dialog
- Using EDB Job Scheduler
- Collation Dialog
- Domain Dialog
- Domain Constraints Dialog
- Event Trigger Dialog
- Extension Dialog
- Foreign Data Wrapper Dialog
- Foreign Server Dialog
- Foreign Table Dialog
- FTS Configuration Dialog
- FTS Dictionary Dialog
- FTS Parser Dialog
- FTS Template Dialog
- Function Dialog
- Language Dialog
- Materialized View Dialog
- Package Dialog
- Procedure Dialog
- Publication Dialog
- Schema Dialog
- Sequence Dialog
- Subscription Dialog
- Synonym Dialog
- Trigger Function Dialog
- Type Dialog
- User Mapping Dialog
- View Dialog
- Creating or Modifying a Table
- Management Basics
- Backup and Restore
- Developer Tools
- Processes
- pgAgent
- pgAdmin Project Contributions
- Release Notes
- Licence
DBMS Job
Use the DBMS Job dialog to create a DBMS Job.

Use the fields in the General tab to create job:
Use the Name field to add a descriptive name for the job. The name will be displayed in the pgAdmin object explorer.
Use the Enabled? switch to indicate that job should be enabled or disabled.
Use the Job Type field to select the type of the job. Type could be SELF-CONTAINED or PRE-DEFINED. If the Job Type is Self-Contained you need to specify the action and repeat interval in the Action and Repeat tabs respectively. If the Job Type is Pre-Defined you need to specify the existing Program and Schedule names in the Pre-Defined tab.
Store notes about the job in the Comment field.
Click the Action tab to continue.
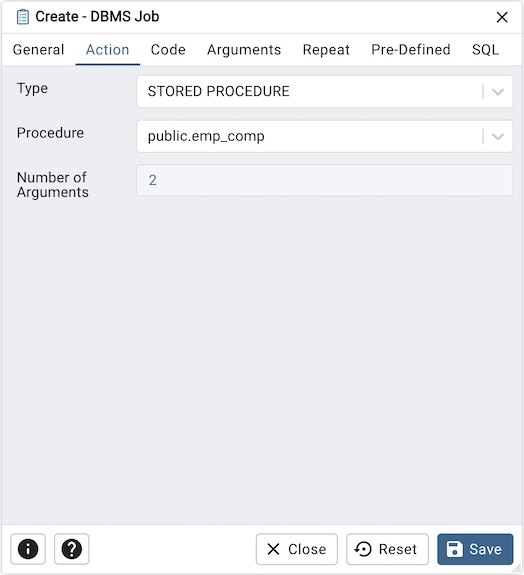
Use the Action tab to select the action for the job. This tab is only enabled when the job type is ‘SELF-CONTAINED’.
Use the Type field to select the type of the job. Type could be PLSQL BLOCK or STORED PROCEDURE.
Use the Procedure field to select an existing procedure that executes when the job is invoked.
Number of Arguments field is read-only and indicates the quantity of arguments necessary for the chosen procedure.
Click the Code tab to continue.
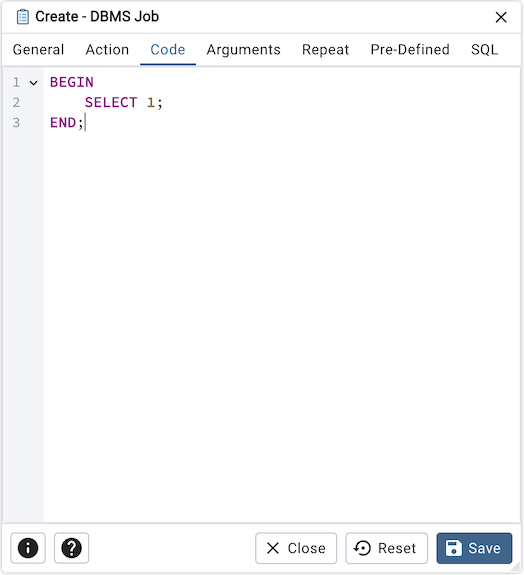
Use the Code field to write the code that executes when the job is invoked. This tab is only enabled when the job type is ‘SELF-CONTAINED’ and type of the action is set to ‘PLSQL BLOCK’.
Click the Arguments tab to continue.
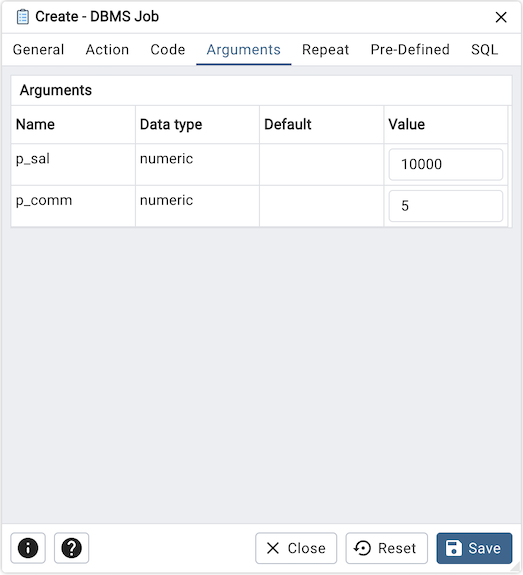
Arguments tab outlines the arguments required by the selected procedure in the ‘Action’ tab. This tab is only enabled when the job type is ‘SELF-CONTAINED’.
Click the Repeat tab to continue.
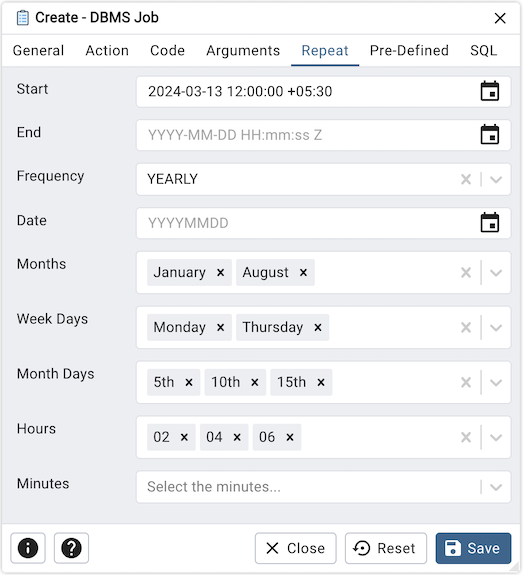
Use the Repeat tab to select the repeat interval for the job. This tab is only enabled when the job type is ‘SELF-CONTAINED’.
Use the calendar selector in the Start field to specify the starting date and time for the job.
Use the calendar selector in the End field to specify the ending date and time for the job.
Use the Frequency field to select the frequency. Frequency is one of the following: YEARLY, MONTHLY, WEEKLY, DAILY, HOURLY, MINUTELY.
Use the Date field to select the date on which job will execute.Date is YYYYMMDD.
Use the Months field to select the months in which the job will execute.
Use the Week Days field to select the days on which the job will execute.
Use the Month Days field to select the numeric days on which the job will execute.
Use the Hours field to select the hour at which the job will execute.
Use the Minutes field to select the minute at which the job will execute.
Click the Pre-Defined tab to continue.
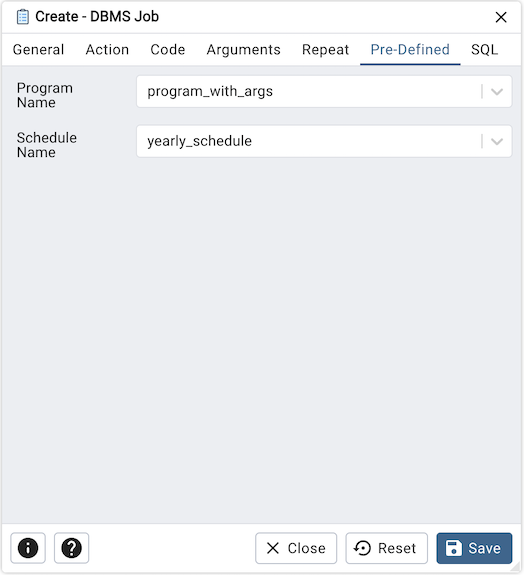
Use the Pre-Defined tab to select the existing program and schedule to create the job. This tab is only enabled when the job type is ‘PRE-DEFINED’.
Use the Program Name field to select the existing program.
Use the Schedule Name field to select an existing schedule.
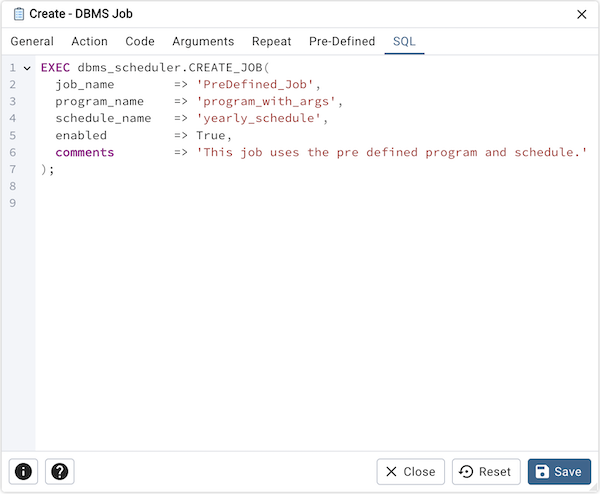
Click the SQL tab to continue.
Your entries in the DBMS Job dialog generate a SQL command (see an example below). Use the SQL tab for review; revisit or switch tabs to make any changes to the SQL command.
Example
The following is an example of the sql command generated by user selections in the DBMS Job dialog:
Click the Info button (i) to access online help.
Click the Help button (?) to access dialog help.
Click the Save button to save work.
Click the Close button to exit without saving work.
Click the Reset button to restore configuration parameters.