Contents
- Getting Started
- External database for pgAdmin user settings
- Connecting To A Server
- Managing Cluster Objects
- Managing Database Objects
- Cast Dialog
- Collation Dialog
- Domain Dialog
- Domain Constraints Dialog
- Event Trigger Dialog
- Extension Dialog
- Foreign Data Wrapper Dialog
- Foreign Server Dialog
- Foreign Table Dialog
- FTS Configuration Dialog
- FTS Dictionary Dialog
- FTS Parser Dialog
- FTS Template Dialog
- Function Dialog
- Language Dialog
- Materialized View Dialog
- Package Dialog
- Procedure Dialog
- Publication Dialog
- Schema Dialog
- Sequence Dialog
- Subscription Dialog
- Synonym Dialog
- Trigger Function Dialog
- Type Dialog
- User Mapping Dialog
- View Dialog
- Creating or Modifying a Table
- Management Basics
- Backup and Restore
- Developer Tools
- Processes
- pgAgent
- pgAdmin Project Contributions
- Release Notes
- Licence
Domain Dialog
Use the Domain dialog to define a domain. A domain is a data type definition that may constrain permissible values. Domains are useful when you are creating multiple tables that contain comparable columns; you can create a domain that defines constraints that are common to the columns and re-use the domain definition when creating the columns, rather than individually defining each set of constraints.
The Domain dialog organizes the development of a domain through the following tabs: General, Definition, Constraints, and Security. The SQL tab displays the SQL code generated by dialog selections.
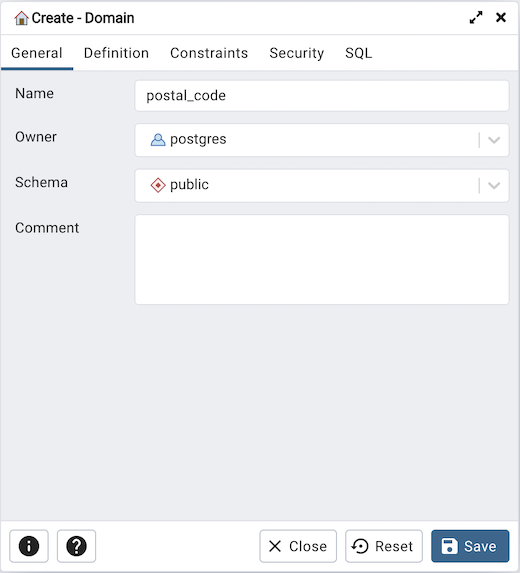
Use the fields on the General tab to identify a domain:
Use the Name field to add a descriptive name for the domain. The name will be displayed in the pgAdmin tree control.
Use the drop-down listbox next to Owner to select a role that will own the domain.
Select the name of the schema in which the domain will reside from the drop-down listbox in the Schema field.
Store notes about the domain in the Comment field.
Click the Definition tab to continue.
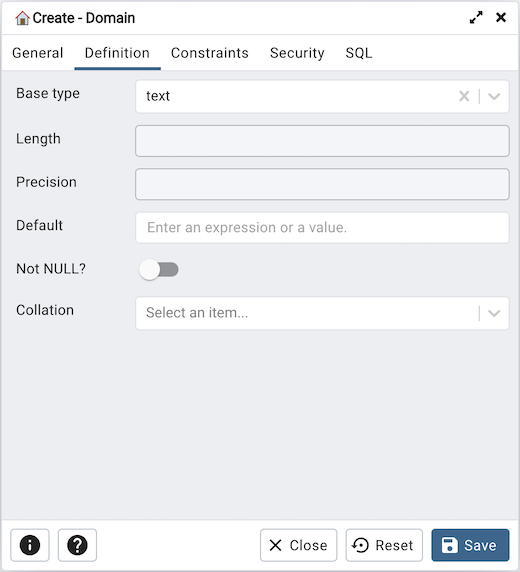
Use the fields in the Definition tab to describe the domain:
Use the drop-down listbox next to Base type to specify a data type.
Use the context-sensitive Length field to specify a numeric length for a numeric type.
Use the context-sensitive Precision field to specify the total count of significant digits for a numeric type.
Specify a default value for the domain data type in the Default field. The data type of the default expression must match the data type of the domain. If no default value is specified, then the default value is the null value.
Move the Not Null switch to specify the values of this domain are prevented from being null.
Use the drop-down listbox next to Collation to apply a collation cast. If no collation is specified, the underlying data type’s default collation is used. The underlying type must be collatable if COLLATE is specified.
Click the Constraints tab to continue.
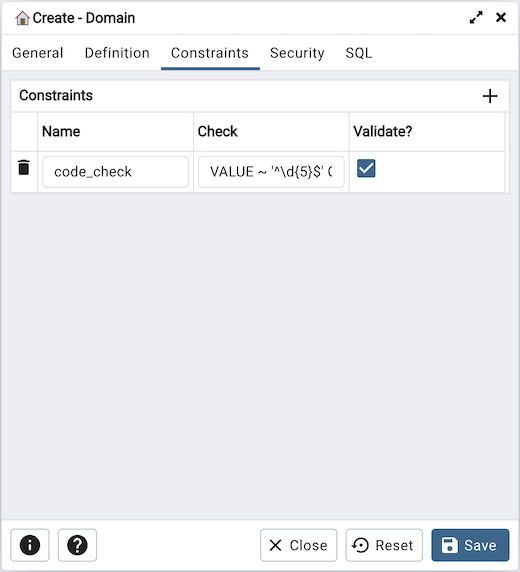
Use the fields in the Constraints tab to specify rules for the domain. Click the Add icon (+) to set constraints:
Use the Name field to specify a name for the constraint.
Use the Check field to provide an expression for the constraint.
Use the Validate checkbox to determine whether the constraint will be validated. The default checkbox is checked and sets a validation requirement.
A CHECK clause specifies an integrity test which values of the domain must satisfy. Each constraint must be an expression that produces a Boolean result. Use the key word VALUE to refer to the value being tested. Expressions evaluating to TRUE or UNKNOWN succeed. If the expression produces a FALSE result, an error is reported and the value is not allowed to be converted to the domain type. A CHECK expression cannot contain subqueries nor refer to variables other than VALUE. If a domain has multiple CHECK constraints, they will be tested in alphabetical order by name.
Click the Add icon (+) to set additional constraints; to discard a constraint, click the trash icon to the left of the row and confirm deletion in the Delete Row popup.
Click the Security tab to continue.
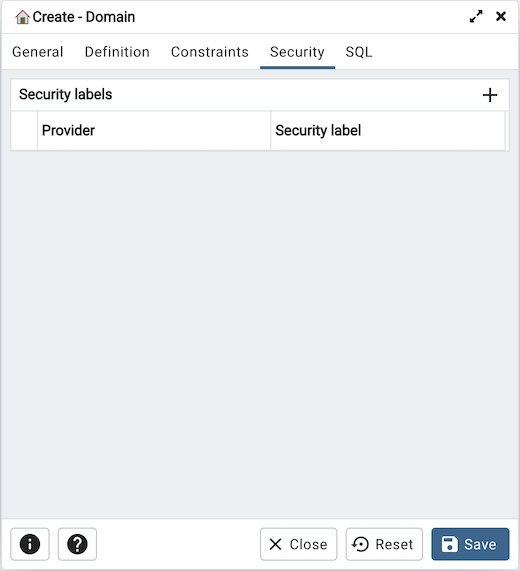
Use the Security Labels panel to assign security labels. Click the Add icon (+) to add a label:
Specify a security label provider in the Provider field. The named provider must be loaded and must consent to the proposed labeling operation.
Specify a a security label in the Security Label field. The meaning of a given label is at the discretion of the label provider. PostgreSQL places no restrictions on whether or how a label provider must interpret security labels; it merely provides a mechanism for storing them.
Click the Add icon (+) to specify each additional label; to discard a label, click the trash icon to the left of the row and confirm deletion in the Delete Row popup.
Click the SQL tab to continue.
Your entries in the Domain dialog generate a SQL command (see an example below). Use the SQL tab for review; revisit or switch tabs to make any changes to the SQL command.
Example
The following is an example of the sql command generated by selections made in the Domain dialog:
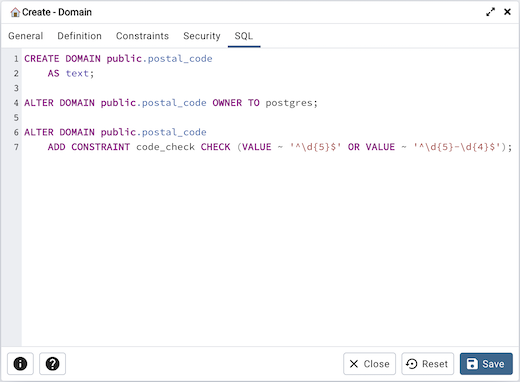
The example shown demonstrates creating a domain named postal_code that confirms that the value entered is in proper format.
Click the Info button (i) to access online help.
Click the Save button to save work.
Click the Close button to exit without saving work.
Click the Reset button to restore configuration parameters.